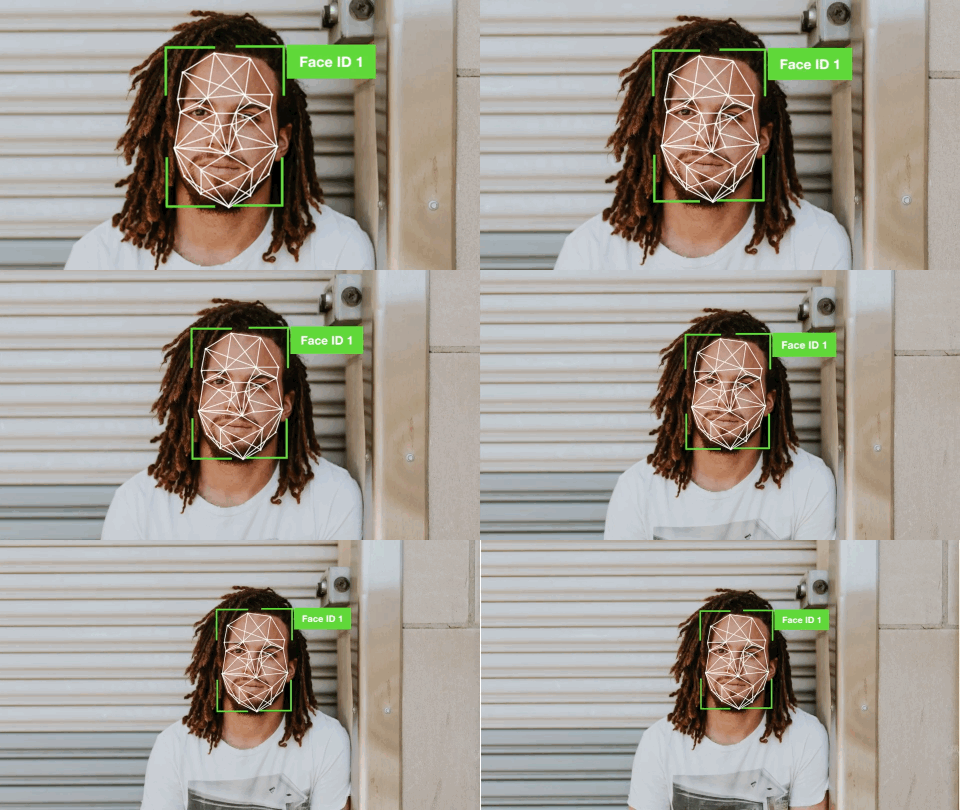
Face tracking is detecting a set of faces in frame 1 of a video, establishing a correspondence between the frames, and maintaining a unique ID for each of the faces throughout the video.
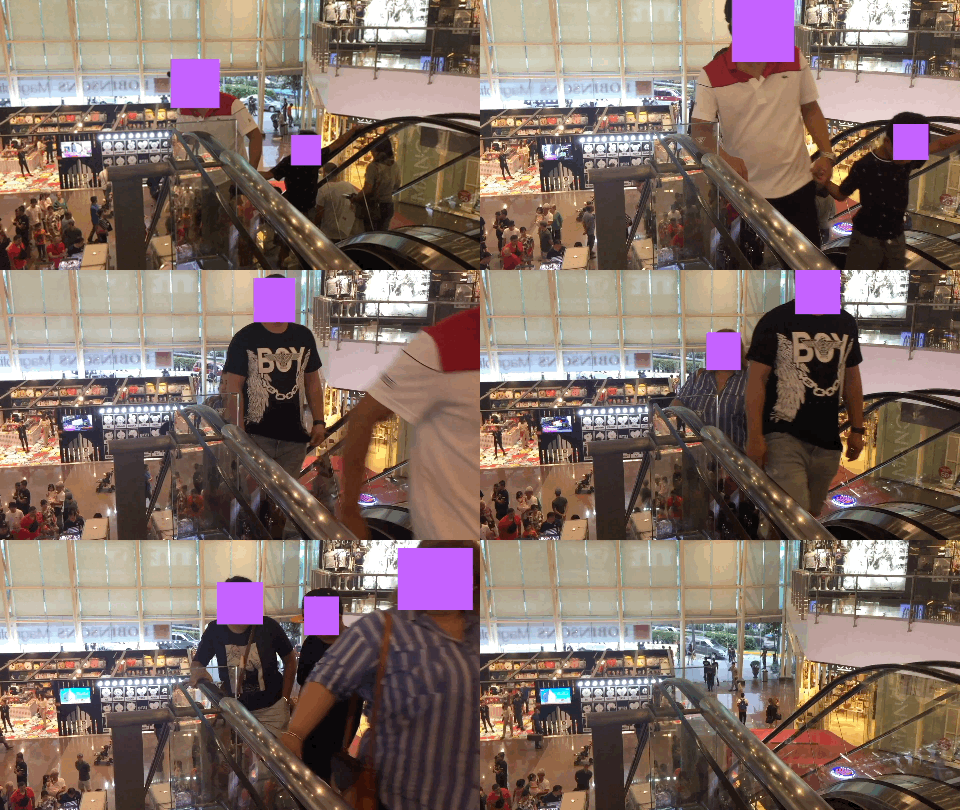
It is being used in different scenarios ranging from video surveillance where a target face is tracked to observe the target person’s movement; privacy-protection where a face is replaced or blurred; and entertainment where the target face is replaced with cartoons, or blended with a super star’s face.


Imagine what you could do with face tracking …💭 create your our home surveillance system so that when an unrecognized person walks in your front door, it keeps a track of his/her movements and alerts you, count the number of people walking in and out of your building, or create an app that replaces your face with a smiley 😃 while creating a dance video to share on your YouTube channel.

In this post, I will teach you how to create a simple face tracking system in Python by dividing the task into two steps:
1. Face detection
2. Face tracking
By the end of this post, you will be able to detect faces in the first frame and track all the detected faces in the subsequent frames.
NOTE: For this post, I will use Raspberry Pi 3B+ and run all my code on it.
Let’s get started.
Face Detection
In order to track faces, we must first be able to detect faces in any given image.
For our face detection task, we will use Xailient Face Detector. You can refer to this post to download and install the Face Detector SDK.
Face Detection on Image
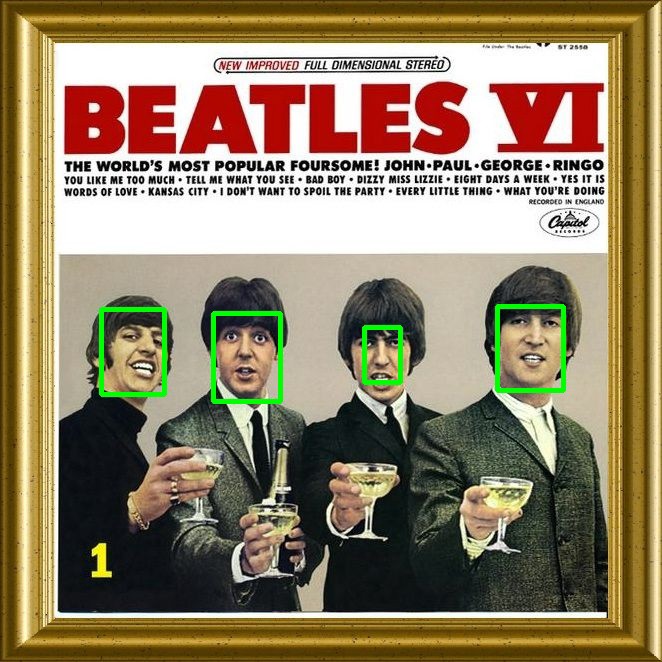
Let’s start by creating a program to detect faces from a static image. Here is the code to read an image, detect faces in the image, draw a bounding box around the detected faces and then save it back to the disk.

Face Detection on Video Stream
Now that we have a program that detects static faces, let’s program it so that it can detect faces in a video stream.
We will use the picamera package for video streaming, which provides an interface to the Raspberry Pi camera module for Python.
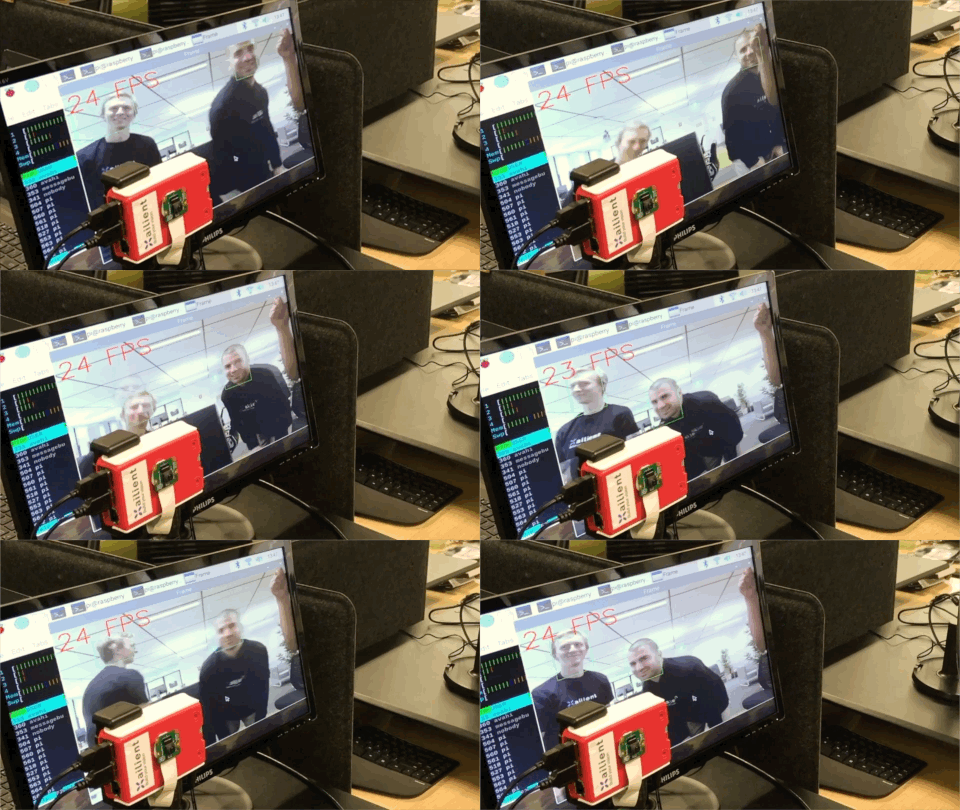
For each frame of the video stream, we will perform face detection, draw a bounding box around the detected faces and display the frame.

Face Tracking Made Simple
Let’s add face tracking to the above program. We will detect faces in the first frame and then track the faces detected in all the other frames.
For tracking, we will use correlation_tracker() that contains machine learning algorithms and tools that are used in a wide range of domains including robotics and embedded devices.
Dlib is a library created by Davis King that contains machine learning algorithms and tools that are used in a wide range of domains including robotics and embedded devices.
To install Dlib, use the following commands:

NOTE: If you are facing issues installing Dlib, their tutorials provide detailed instructions on installing it.
The correlation_tracker() allows you to track the position of an object as it moves from frame to frame in a video.
In the first frame, we will perform face detection. For each of the faces detected, we will create a correlation tracker object (dlib.correlation_tracker()) and start tracking the face by giving its bounding box coordinates to the tracker object. Then for each of the subsequent frames, we will use these trackers to identify the location of each face.
You now have your face tracker system ready!
You can also modify the code so that you can do face tracking from a video loaded from a disk instead of streaming it live from the camera.
Here is the modified face detection and face tracking code:
Below is a screen recording video of the running face detection and tracking on a video. The video I used for testing my code was a cropped version (I used the last 8 seconds only) of the original video by Tim Savage from Pexels. You can download the original video from Pexels.
Looking to implement real-time face detection on a Raspberry Pi? Check out this post.
